Image: 123rf.com
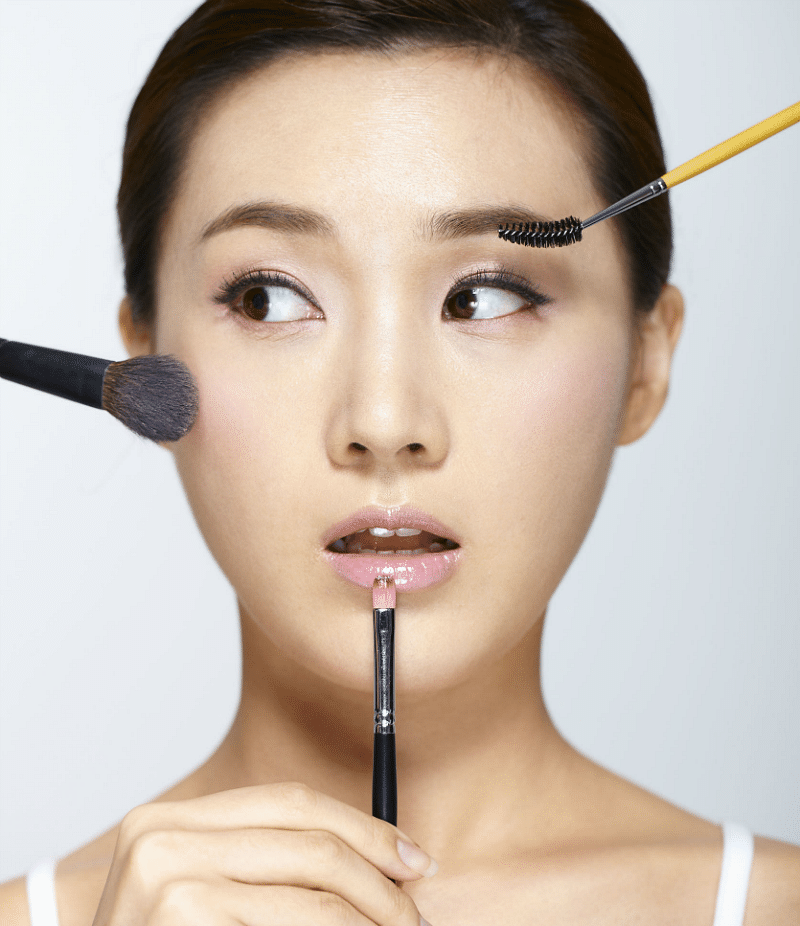
Here’s a dirty little secret. Many moons ago, we used to get by with using our fingers to dab on our warpaint. That was until we had our first brush, so to speak, with makeup brushes by way of a thoughtful gift set by a fellow beauty buff … and we’ve not turned back since.
After all, what would Monet or Renoir have achieved without their bold brush strokes? We’re not necessarily saying our faces are Impressionist masterpieces, but makeup is an art best practiced with the appropriate apparatus.
Now that we’ve got that out of the way, consider this story your online makeup masterclass. Let’s start by playing a quick beauty parlour game – real or synthetic? Answer: Both.
SPLITTING HAIRS
What type to choose for your particular needs
The primary difference between brushes made with real hair and those sporting synthetic fibres is their propensity for picking up pigment. Here’s the golden axiom to bear in mind when deciding between synthetic or real hair: Natural brushes work best for dry products like powder blush and shadow, while synthetic bristles are good for wet products like liquid foundation and cream concealers.
Here’s why. Natural hairs – usually goat, squirrel or, if you’re in the mood to indulge, Siberian sable – are well, real, in the sense that they’re just like the follicles sitting atop our own heads.
")
Image: 123rf.com
Think of the shampoo ads you’ve chanced upon: They usually include nifty diagrams of magnified hair that show off the porous holes dotting each cuticle. Natural bristles are studded with those same tiny holes, which “pick” up powders and allow your dry product to cling to the brush, allowing even distribution of say, powder foundation, without too much legwork on your part.
On the other hand, synthetic nylon or taklon brushes are smooth all the way through, with no porous holes for dry product to hold on to. These are best suited for liquids because they soak up less stuff and incur less wastage.
Oh, and one last thing. Besides the hair, other components of a makeup brush to consider are the handles and ferrule, the latter being the metal bit holding the bristles in place. Impress your beauty cabin staff by asking for brushes with ferrules made of nickel plated aluminium, brass or copper, as these are generally more sturdy. Now, on to the five brushes that we think should be essentials in your makeup kit.
ALSO READ: Our new girl crush Staz Lindes spills all the influencer makeup secrets you need to know now; How to get your eyebrows on point for work – in less than 5 minutes!; Warning: You’re ruining your skincare if you’re storing it like this
THE BRUSHES
Classic foundation brush

Dior Backstage Brushes Professional Finish Powder Brush
Look for: A fluffy, rounded, flat-tipped brush. Synthetic fibres suit liquid foundations best, and will afford you exceptionally even coverage. The brush’s round shape rolls over the planes of your face to drape pores with buildable layers of product.
How to use: Here’s a tip. Don’t drag your brush across your face as if you’re whitewashing a wall. Long strokes will inevitably cause unsightly streaking. Instead, pour a generous amount of foundation onto the back of your non-dominant hand, and steep the tip of your brush into the product. Next, take the brush and use “stippling” motions to buff it into your skin – the word is just fancy beauty vernacular for “dotting”. Start from your cheeks and blend carefully. Use clean tissue paper to pat away excess product in the thin strip of no-woman’s land between your temples and your hairline for a seamless finish.
Concealer brush

Bobbi Brown Concealer Brush
Look for: A small, slightly tapered brush with moderately stiff bristles for precision application of minute amount of product to blur the appearance of blemishes and discolourations. The tool should have some degree of tensile strength to allow for flexing into hard-to-reach areas, like the sides of the nose and inner eye corners.
How to use: There are equally vociferous advocates on both sides of the concealer-foundation divide, but we’re generally concealer-after-foundation girls: Foundation provides just that – a foundation – while concealer goes after the stray bits on the canvas that your base colour hasn’t covered. To conceal, warm your product between clean fingers, smear onto the back of your non-dominant hand, then dip your brush into the creamy puddle. Tap the brush into the problematic area, then use your fingertips to blend it into the surrounding skin for a is-she-or-isn’t-she, nigh invisible veil.
Powder brush

Yves Saint Laurent Beaute Perfecting Polisher Brush
Look for: A souffle-soft, fabulously fluffy domed brush with longish bristles so that only the very tips graze your face. Good for diffusing colour onto your cheeks without disturbing your foundation.
How to use: Angle your blush brush against your cheekbones and use a deft, gliding motion to sweep the colour up towards your temples. Remember to keep your blush high up on your face for a lifted effect, and avoid bringing the blush inwards to your nose, as this can read as the redness of eczema.
Angled brush

M.A.C Cosmetics 208 Angled Brow Brush
Look for: A slender, stiff instrument with a slim tip sheared off at an angle, which must be firm enough to allow control and to “grab” product like brow powders and eyeliner.
How to use: This double-duty beauty lines eyes and smudges shadow. With a pot of gel liner, simply dip and place the angled tip close to the lashline, starting from the inner corners and tracing the contours of your eye outwards for a gorgeously natural look. For an intense winged edge, moisten the brush tip first, then drag the line out so that it peters off to a “wing”. Start small and slowly build to minimise mistakes.If you go out of line, so to speak, grab a cotton swab and dip one end in an oil-based makeup remover. The small tip will make it easy to correct the error without wiping away all your hard work. Then use the dry end to remove the oil and dust a little powder over and start afresh.
An angled brush is good for softening your shadow. Tap the brush along your crease to blend your eye colours together so there’s no clear demarcation line between your accent shadow and the main socket colour. You can also use it to smoke your lower lashline: Gently sweep a darker shadow along the outer third of your lower lashline, and finish by using your ring finger to smudge it in.
Eyeshadow brush

Shu Uemura Specialists Natural 10 Eye Shadow Brush
Look for: A stiff paddle-shaped brush made of natural hair that’s just big enough to cover your crease. Fluffier isn’t necessarily better in this case: You want something sturdier that will pack on intense pigment where you need it.
How to use: Dip the brush into your pot of shadow and swirl it around before tapping off any excess product. Next, press the paddle onto your lids, then angle the brush to blend the edges. Paddle-shaped brushes work best with a pressing motion; on the other hand, the ‘windshield-wiping’ method causes unnecessary tugging on your delicate orbital area and is probably best avoided.